For most users, the standard email themes and email templates are sufficient. However, if you wish to make a highly customised or highly visual custom template, this article explains how.
Designing your template
We recommend that you use a third-party coding tool or WYSIWYG drag and drop email builder to create your custom HTML code before you think about implementation. Our email template editor allows custom code to be pasted into the templates once the design is finalised.
You may need to split your template into two parts to fit with our email structure.
Understanding email structure
All emails sent from the Sponsorworks system contain two parts:
1. Email theme - this is the branded wrapper that gets wrapped around the body content
2. Email template - this is the body content that sits within the wrapper
Creating email themes
Email themes can be created by administrators by visiting Settings > Emails and clicking Add New Theme. The screen appears as follows:
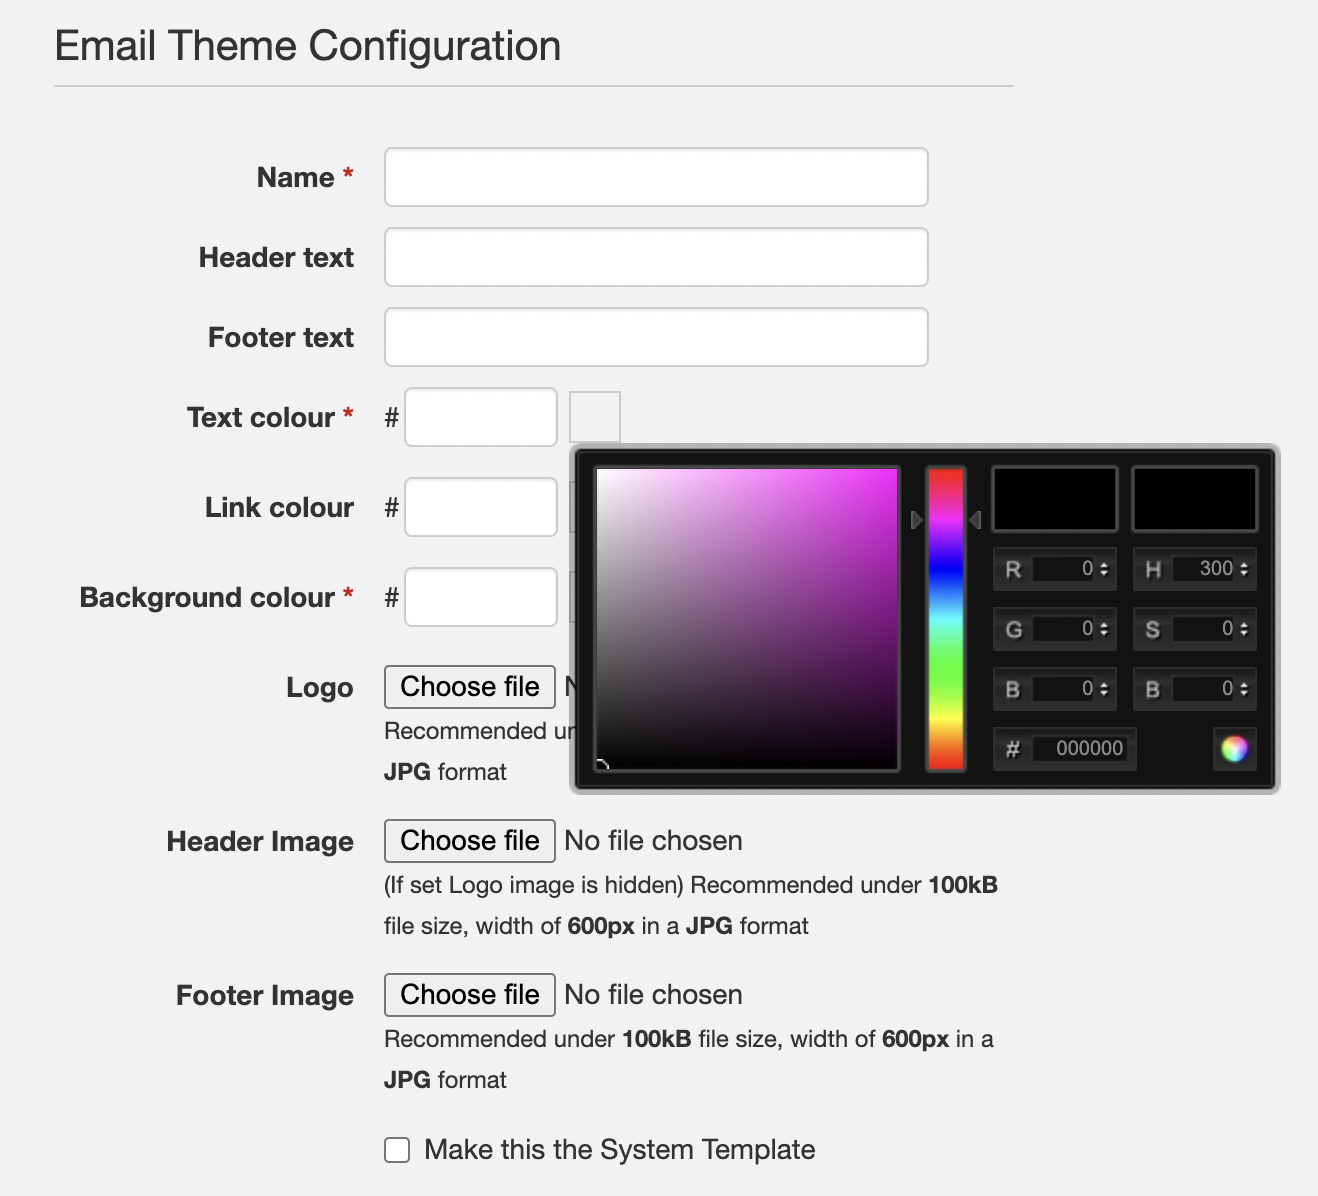
Each email theme comprises the following fields:
- Name - the internal name for user reference
- Header text - any standard text to appear in the header (leave blank for custom templates)
- Footer text - any standard text to appear in the footer (leave blank for custom templates)
- Text colour - hex colour for body text (can be overridden in custom template CSS)
- Link colour - hex colour for body links (can be overridden in custom template CSS)
- Background colour - hex colour for background (can be overridden in custom template CSS)
- Logo - a logo to display at the top of the email (optional)
- Header image - a header image to display either as well as a logo or instead of (optional)
- Footer image - a footer image to display (optional)
- System template - if enabled, all internal user automated emails will use this template. We recommend having separate templates for the system template and guest emails for maximum control.
You can create as many email themes as required. For example, you may wish to have different branded for each event type. Email themes can be selected when sending guest communications and a default them can be applied at category level to ensure consistency across communications.
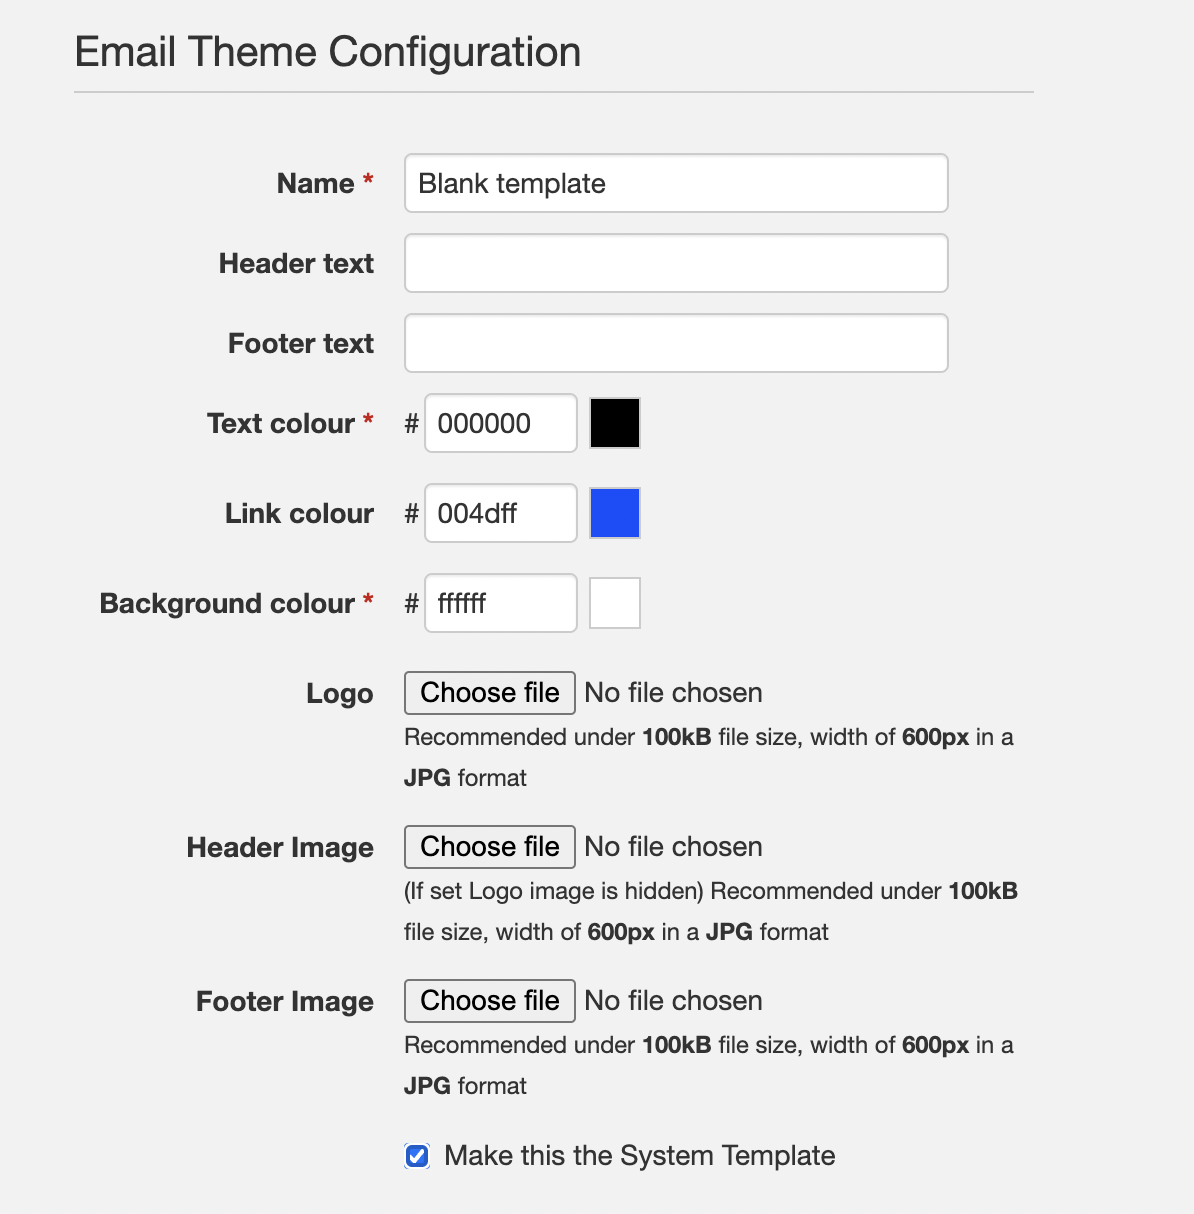
Using a blank email theme for maximum flexibility
If you want complete flexibility for all automated templates, we recommend creating a blank theme as the system template, with no images applied and a white background. This will allow each template to be customised individually.
You might configure it as follows:
Creating email templates
There are over 30 standard email templates with the system. The majority are sent using automated workflow, while a handful are for manual sending. Templates are configured by administrators and can be accessed by visiting Settings > Emails.
Each template contains a set of merge tags which populate relevant content at sending time. When creating templates you can populate merge tags. They are always in the format: ${tagname}
Please refer to each template in the system to see which merge tags are available for that template.
Importing custom HTML code
If you wish to import custom HTML, first find the template then in the editor click View menu > Source code. Remove the existing template code and paste your template code into the file then click OK. You will be returned to the WYSIWYG view where you can preview the template and send a test email. Once you are happy with the changes, you will need to save the template.
Please note it is not possible to import custom HTML code to themes at this time.
Hosting custom images for your templates
If you need to embed custom images in your email templates, you will first need to upload those images to the system. You cannot upload images via the email editor, they need to be uploaded first.
We recommend creating a category that is visible only to administrators where you can store images. You might want to call the category "Design assets (admins only)" or something similar, so you remember what sits within it. To restrict the visibility of a category, first create it, then click Edit Category and set Who should see this category? to Specific Divisions and select only Administrators.
Tip: You may wish to create sub-categories for Key Documents, Email Images, Page Images etc to keep your assets organised.
Once you have created a category to store your assets, you need to upload each image and then apply the URL to the template as follows:
- Within your asset category, click Edit Documents
- Click Add Document button
- Add a descriptive name e.g. Guest email banner
- Add a description e.g. 800px x 100px jpg showing crowd
- Select the file to upload from our machine or server
- Click Add to upload the file
- To get the URL of the file to add to your template, right click on the uploaded file name and click 'Copy link address'
- You can either paste this link into the source of your template immediately or, if you are uploading multiple images, it may be easier to make a note of the URL and apply them to your template once all images have been uploaded.
Testing custom templates
When editing a template there is a Send Test to Me function which allows the template to be previewed in your inbox using the theme marked as the System Template.
If you wish to test multiple email themes, you will need to configure a test event and add guests to a test request then use the Send Invitation and Email Guests functions within the Guest Management module.
To ensure test event are hidden from your users, we recommend using a category visible only to administrators (see hosting custom images above for how to configure).
Comments
0 comments
Article is closed for comments.